How to Make a Padded Bucket Seat
This would be a GREAT MUTUAL ACTIVITY!!!!!
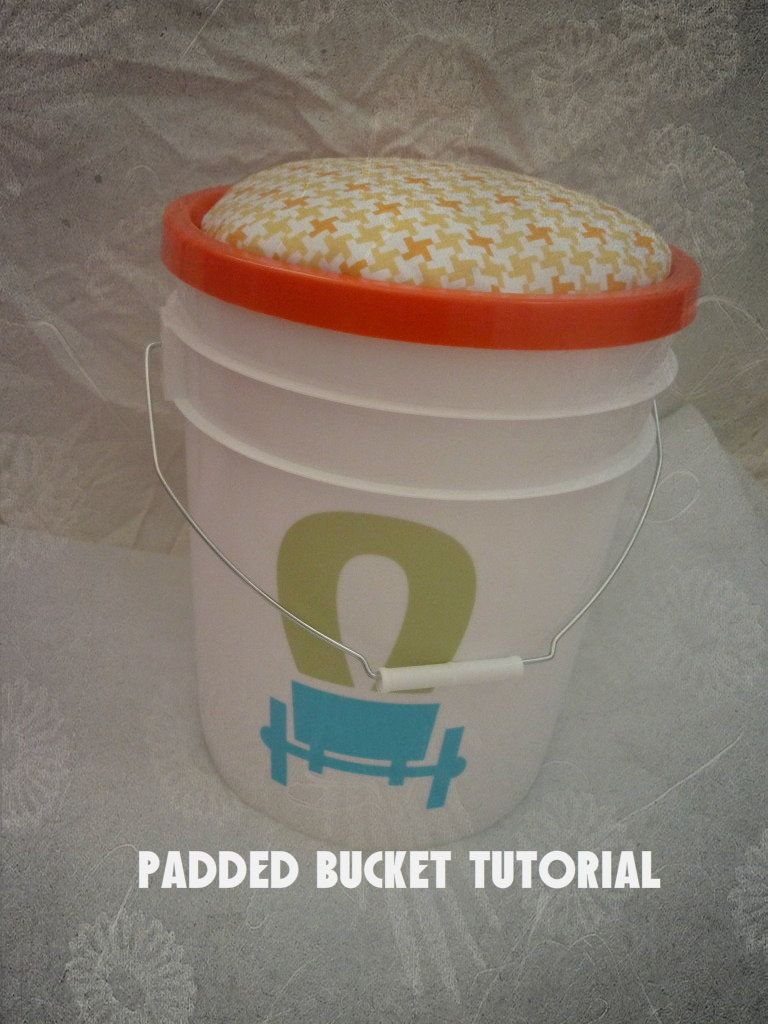
The Padded Bucket
We have to fit all of our belongings for Trek in these 5 gallon buckets. My husband was supposed to be in charge of the buckets. He bought them. Then he worked on them for a while and claimed finished. This is what I found.

Oh that is so cute. You actually think that the duct tape tag is going to cut it.
And on a related note, this whole "no pillow" thing was stressing me out a little. I figure I will go through a whole bottle of Advil, since I can't have a pillow. Well, I came up with a little solution. The Padded Bucket. I can sit on it softly around the camp fire, and sleep with it at night. I remember seeing these many years back when I lived in Utah for Girls Camp. But after searching around online, there weren't really any tutorials, So I made my own.
Supplies:
(1) 5 gallon bucket and lid (Mine are from Home Depot because I wanted the orange lid.)
pressboard
batting
1 fat quarter of fabric
Tools needed:
Pencil
Compass
Jig Saw
scissors
staple gun
hot glue and gun
First, I used this pressboard stuff I had in the garage. It was like $8 at Lowes for a HUGE sheet.

Using a compass, I made a circle that fit on the top of the lid. I cut it out with a jig saw. It was NOT a perfect circle. :) But I tried.

Next, I piled up the batting into a square on top of the wrong side of the fabric. I probably used 1/2 yard. I wanted it really cushy.

Place your *absolutely perfect* circle on top.


Now, hot glue the crap out of it and stick it on the lid (while your little child is rolling around in the excess batting.)


I added vinyl to mine to make it personalized.

And as a side note, my husband will NOT let me touch his bucket. He likes it with duct tape.

